
Use the Attribute Editor page to view and edit the attribute values for objects in your hierarchy.
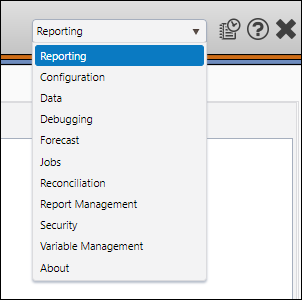
- Select Reporting from the Navigation Toolbar.
- Click on the Data tab, and then the Attribute Editor page.
Load and Display Attribute Data
To load and view attribute values for objects from your hierarchy, follow these steps:
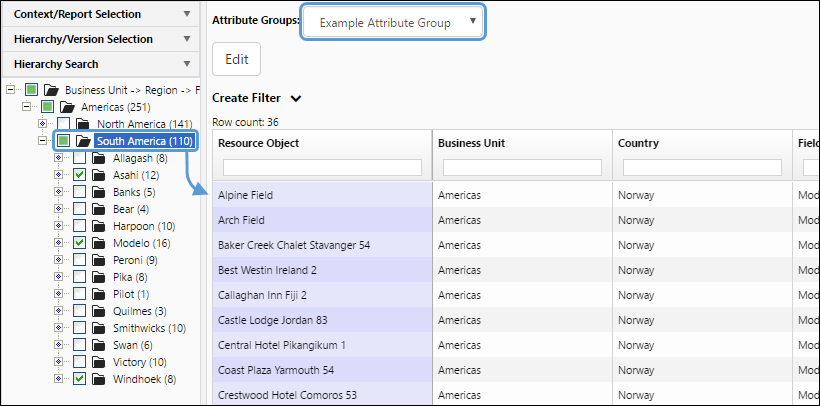
- In the Context/Report Selection pane, select the context you wish to work with using the Context drop-down menu.
- In the Hierarchy/Version Selection pane, select the version of your data you wish to work with using the Version drop-down menu.
- Use the Attribute Groups drop-down menu near the top of the Display pane to select the types of attributes you wish to view in the editor.
- Use the hierarchy to select the objects that you wish to add to the editor. Click on the level of your hierarchy that includes the objects you selected to add them to the editor.
- Each one of the objects you selected will be added to a row of the table.
Click image to expand or minimize.
Sorting Data and Searching Within the Table
You can sort data in the columns of the editor by clicking on column titles. Hold the SHIFT key on your keyboard while selecting columns to sort your data using more than one column. Numbers will be added to each column to indicate the order in which they are sorted.
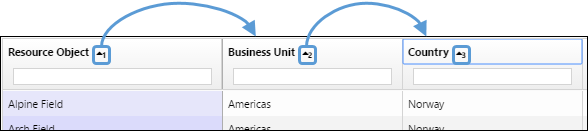
Use the search fields at the top of each column to search for items in the table.

Click image to expand or minimize.
Create Attribute Filters
Now, you can create attribute filters (and create variants of preexisting attribute filters) using the Attribute Editor.
Create New Attribute Filters
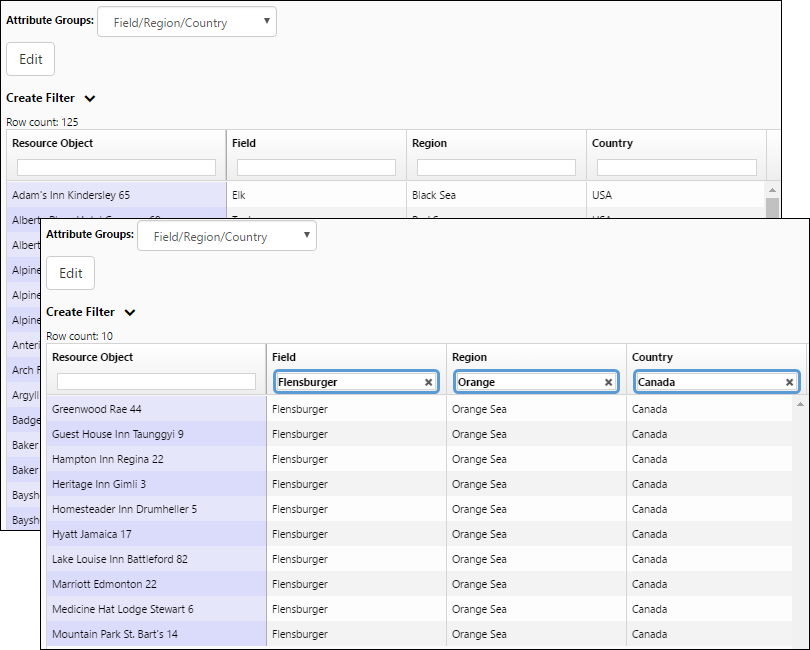
In the example below, 125 objects will be added to the editor. Then, the Search fields will be used to narrow the list of objects in the editor down to 10 that will routinely require changes. Before leaving the editor, the search terms used to identify these 10 objects will be saved as an attribute filter. Once the attribute filter has been created, the user who created it can activate it using the Filter drop-down menu in the Hierarchy/Version Selection pane.
To create an attribute filter while using the Attribute Editor, follow these steps:
- After you access the editor, use the hierarchy to add objects to the editor.
- (Optional) Use the Attribute Groups drop-down menu to limit the attribute types displayed in the editor.
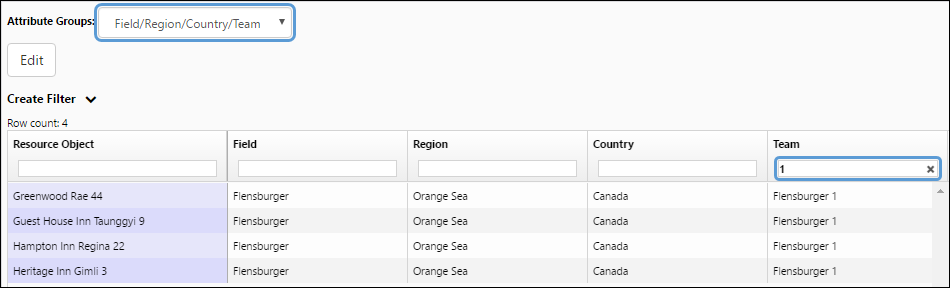
- Use the Search fields to filter the objects displayed in the editor. In this example, a list of 125 objects was filtered down to 10 using three different filters.
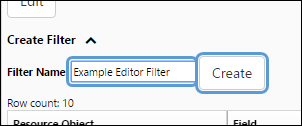
- Expand the Create Filter pane by clicking on the downward-facing chevron (
 ) near the top of the Display pane.
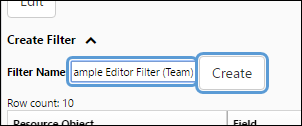
 - Enter a name for your new filter in the Filter Name field.
- Click the Create button.
- A notification will appear when your filter has been created successfully.
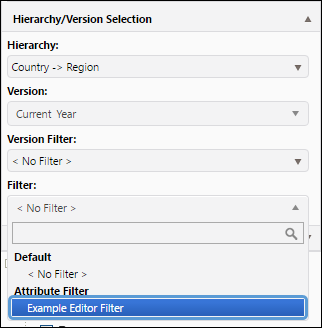
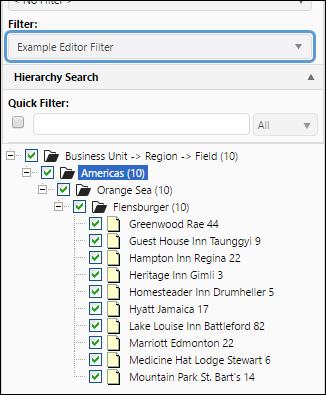
- Now, you can use the attribute filter to limit the objects displayed in the hierarchy using the Filter drop-down menu in the Hierarchy/Version Selection pane.
- When the filter is selected, only the objects with attribute values that match the filter will be listed in the hierarchy.
Click image to expand or minimize.
Click image to expand or minimize.
Click image to expand or minimize.
About Attribute Filters Created Using the Editor
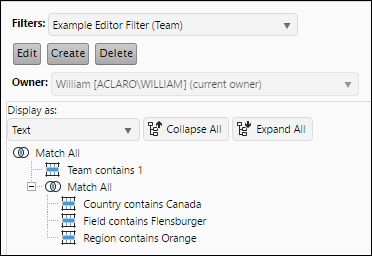
Below, the filter created in this example is displayed on The Attribute Filters Page.
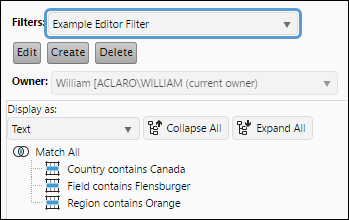
As you can see:
- The operator used for filters created using the Attribute Editor is Match All.
- The Ownership for filters create using the Attribute Editor will default to the user who created the filter.
Creating Variants of Existing Attribute Filters
You can also create variants of preexisting attribute filters while using the Attribute Editor. To do this, follow these steps:
- After accessing the Attribute Filters page, activate an attribute filter using the Filter drop-down menu in the Hierarchy/Version Selection pane.
- Add the objects to the editor, and enter any additional search terms you require. In this example, a different attribute group was used that included the Team attribute. The Search field was used to limit results to team values that included "1."
- Expand the Create Filter segment by clicking on the downward-facing chevron icon () near the top of the Display pane.
- Enter a name for your new filter in the Filter Name field. In this example, a filter will be created called Example Editor Filter (Team).
- Click the Create button.
- When this filter is opened on The Attribute Filters Page, it won't just include the team parameter.
- The new filter (variant filter) will include:
- The new search term(s) — Team in this example.
- The terms of the filter that was activated when adding objects to the editor.
Click image to expand or minimize.
Click image to expand or minimize.
Modify Attribute Values
Follow these steps to modify attribute values for the objects you add to the editor:
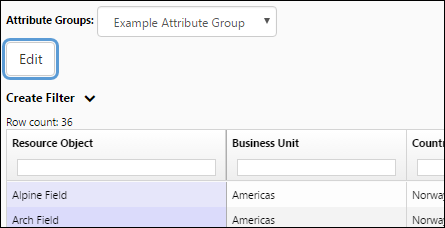
- After you've added the data objects that require changes to the editor, click the Edit button near the top of the Display pane.
- To change the value in a cell, double-click on it. Depending on how your attribute has been set up (using Reserves’s metadata), you will be able to modify the value by:
- Entering a new value into a field.
- Selecting a new value using a drop-down menu.
- Selecting a different value from a drop-down menu that includes a search field.
- Selecting a date using the calendar tool.
- When you finish making your changes, click the Save button near the top of the screen.
Click image to expand or minimize.
Copy Data in the Editor
To copy a value to other cells in a row or column, follow these steps:
- After entering the Edit mode, select the value you wish to copy.
- Hold the SHIFT key on your keyboard, and select the range of cells you want to copy the value to.
- When you select more than one cell, the copy options will appear.
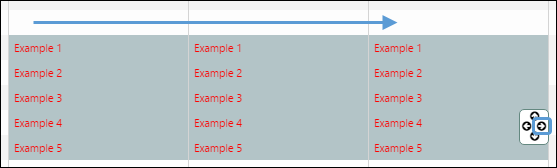
- Click the Copy Left icon (
 ), Copy Right icon (
 ), Copy Up icon (
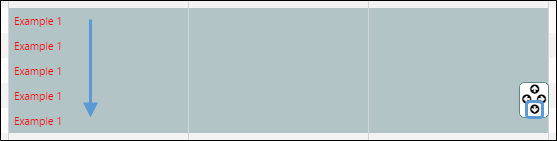
 ), Copy Down icon (
 ), to copy your value.
- In the example below, the Copy Right option was selected.
- In the example below, the Copy Down option was selected.
- Make sure you click the Save button after you've made your changes.
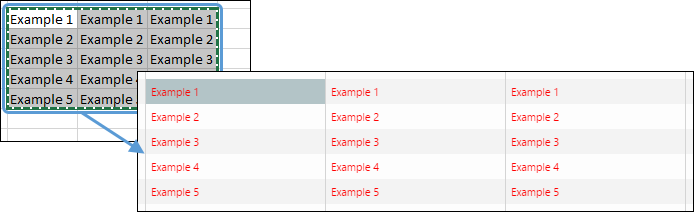
Copy Data to and From Third-Party Applications
You also have the option to copy data to and from third-party applications like Microsoft Excel. In this example, data was copied from Microsoft Excel.
Attribute Editor Hyperlinks
Object-sensitive hyperlinks (hyperlinks used to access URLs for objects in your hierarchy) can be included in the Attribute Editor. In this example, a Project Documents hyperlink was set up. When users select a Project Documents hyperlink, a new tab will open and direct users to a shared OneDrive folder containing project-specific documentation. Once your metadata has been set up to support hyperlinks, you can open a hyperlink by following these steps:
Setting up Object-Sensitive Hyperlinks
Reserves administrators will need to make changes to Reserves's metadata in order to use hyperlinks in the Attribute Editor. For more information on the metadata changes required for hyperlinks, see Set up Attribute Editor Hyperlinks on The Metadata Column Page.
Attribute Groups
You can create and manage attribute groups using The Attribute Groups Page.
Metadata for Hyperlinks
Before you can use hyperlinks in the attribute editor, you will need to make changes to your metadata. For more information on working with the metadata, see The Metadata Column Page.
Dynamic Hierarchies
The hierarchy sorts objects in your database according to their attribute values.